It feels like October has come and gone in the blink of an eye and we’re already into our first week of November! There’s been great debate on social media whether Fall decor should be replaced with Christmas the day after Halloween. To me, whatever makes you happy is what you should do, especially after the craziness of 2020. As for me, I’m not quite ready to let go of Fall yet & am trying to savor the last few weeks of Autumn before diving into Christmas.
This year we will be hosting a small Thanksgiving. It will be our first big holiday in our new home, as well as my first time making a Thanksgiving meal. Traditionally we go to my aunts with extended family and have a huge feast. However with COVID, our usual plans have been cancelled and we’ve decided to keep things small. My parents, sister and grandma will be coming here to celebrate with us.
In an effort to be as organized as possible, I created a recipe card template to write each dish down to follow during my preparation. I will keep these recipe cards in a binder together so they’re easily accessible and in one place. I thought I would share it with you to print out on 8.5″x11″ paper to use for your Thanksgiving preparation also.
Hi guys! I’m sharing with you my first post about our dining room makeover. This is something we are really excited to take on since it will completely transform the look of the upstairs. We had a consultation with Empire Flooring and booked them to install engineered wood floors on November 20th 2020. With this date in mind, we knew we needed to get going on the construction portion of the project before the floors were put in.
The Plan Before Floor Installation:
Remove the wall that separates the dining area from the kitchen
Remove trim from the top and bottom of the walls
Remove the angles from the top of the doorframe
Add vertical shiplap
Add a faux beam to the ceiling between the dining area and kitchen
Paint
The wall that was in between the dining area and kitchen made the space feel closed in. Eventually, we will be re-modeling the kitchen and wanted an open concept between the two. My husband removed the wall and once it was down we couldn’t believe just how much bigger it felt. (We also went ahead and opened up a portion of the entryway wall into the kitchen because but I’ll save that for a later post)
The next day my husband removed the trim, squared off the corners of the doorway, and spackled.
Next was the vertical shiplap installation. We chose to use finished plywood for this wall and spaced each piece ¼” apart. I rolled the first coat of paint using Sherwin Williams Gauntlet Gray. Once the first coat of paint dried, I noticed bare wood exposed in the spacing between the pieces of wood where the roller wasn’t able to reach. We decided to use a paint sprayer for the second coat which made coverage much easier. (If I were to do vertical shiplap again, I would use the paint sprayer for both coats. It applies much faster and more evenly than the roller and there was not much overspray at all)
The next steps in this project will be to finish spackling, paint the other two walls in the room, paint the sliding door, and add a faux beam to the ceiling in between the kitchen and dining area before the floor is installed.
My husband is also going to build our new dining table so I need to find chairs to go with it, as well as a new light and frames for a gallery wall for the shiplap area. Our goal is to have this room completed by Thanksgiving which gives us a little less than a months’ time. Fingers crossed we can do so!
I love the new-to-me Facebook Marketplace world I recently discovered. I was aimlessly looking through listings when I stumbled upon a listing for five wooden stools for $25. They immediately stopped me in my tracks and I knew I wanted to flip them to sell. I sent a message to the seller who graciously agreed to hold them for me until later in the week when I could pick them up.
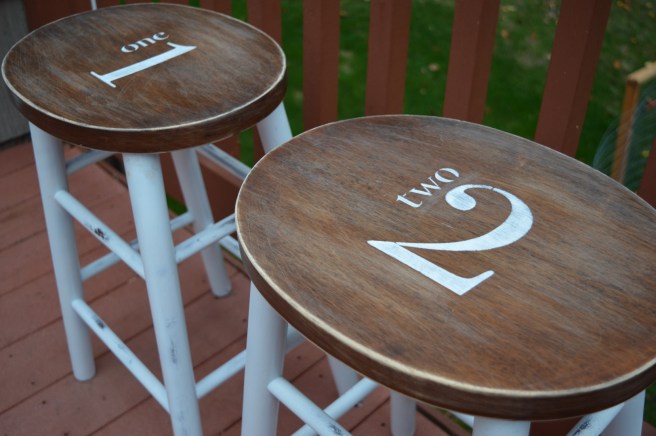
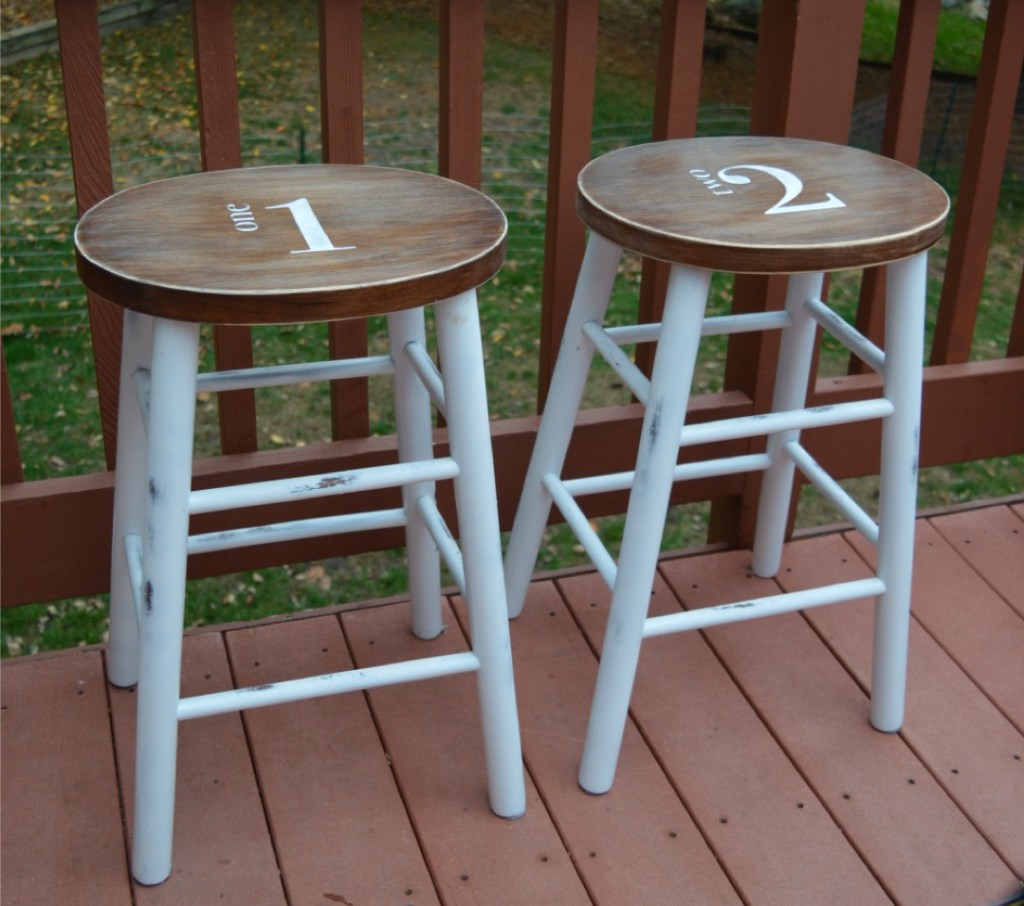
Once I got them home I decided that I would split the stools into one set of two and another set of three and sell them separately. I decided I would paint the set of two first and got to work by giving each of the stools a rough sanding. The top of the stools were in good condition so I decided to leave them as is and covered them with Kraft paper and plastic bags to protect them from any potential over spray while working on the legs. I went with Rust-Oleum’s Universal Spray Paint in white for these two stools.
Once the legs were dry, I removed the plastic bags and kraft paper. I placed stencils on top of the stools using painters tape and used a stippling brush to apply several coats of chalk paint to numbers. (Always be sure to do light coats to build up the intensity of your paint, if you go too heavy with the paint it will bleed under the stencil)
Once the numbers dried I sealed the entire stool with Behr wax. I put them up on Marketplace and they sold within the hour! I was so happy that someone loved them and I can’t wait to transform the other three stools.
Our first room makeover in the house is complete *cue my happy dance.* It feels so good to have accomplished this task in two weeks & have a space that reflects our style. As I said in my previous post, our house is a split level design and one point of entry is through the garage into our mud room. We really wanted to transform this space first since it‘s one of the first things you see when you enter our house.
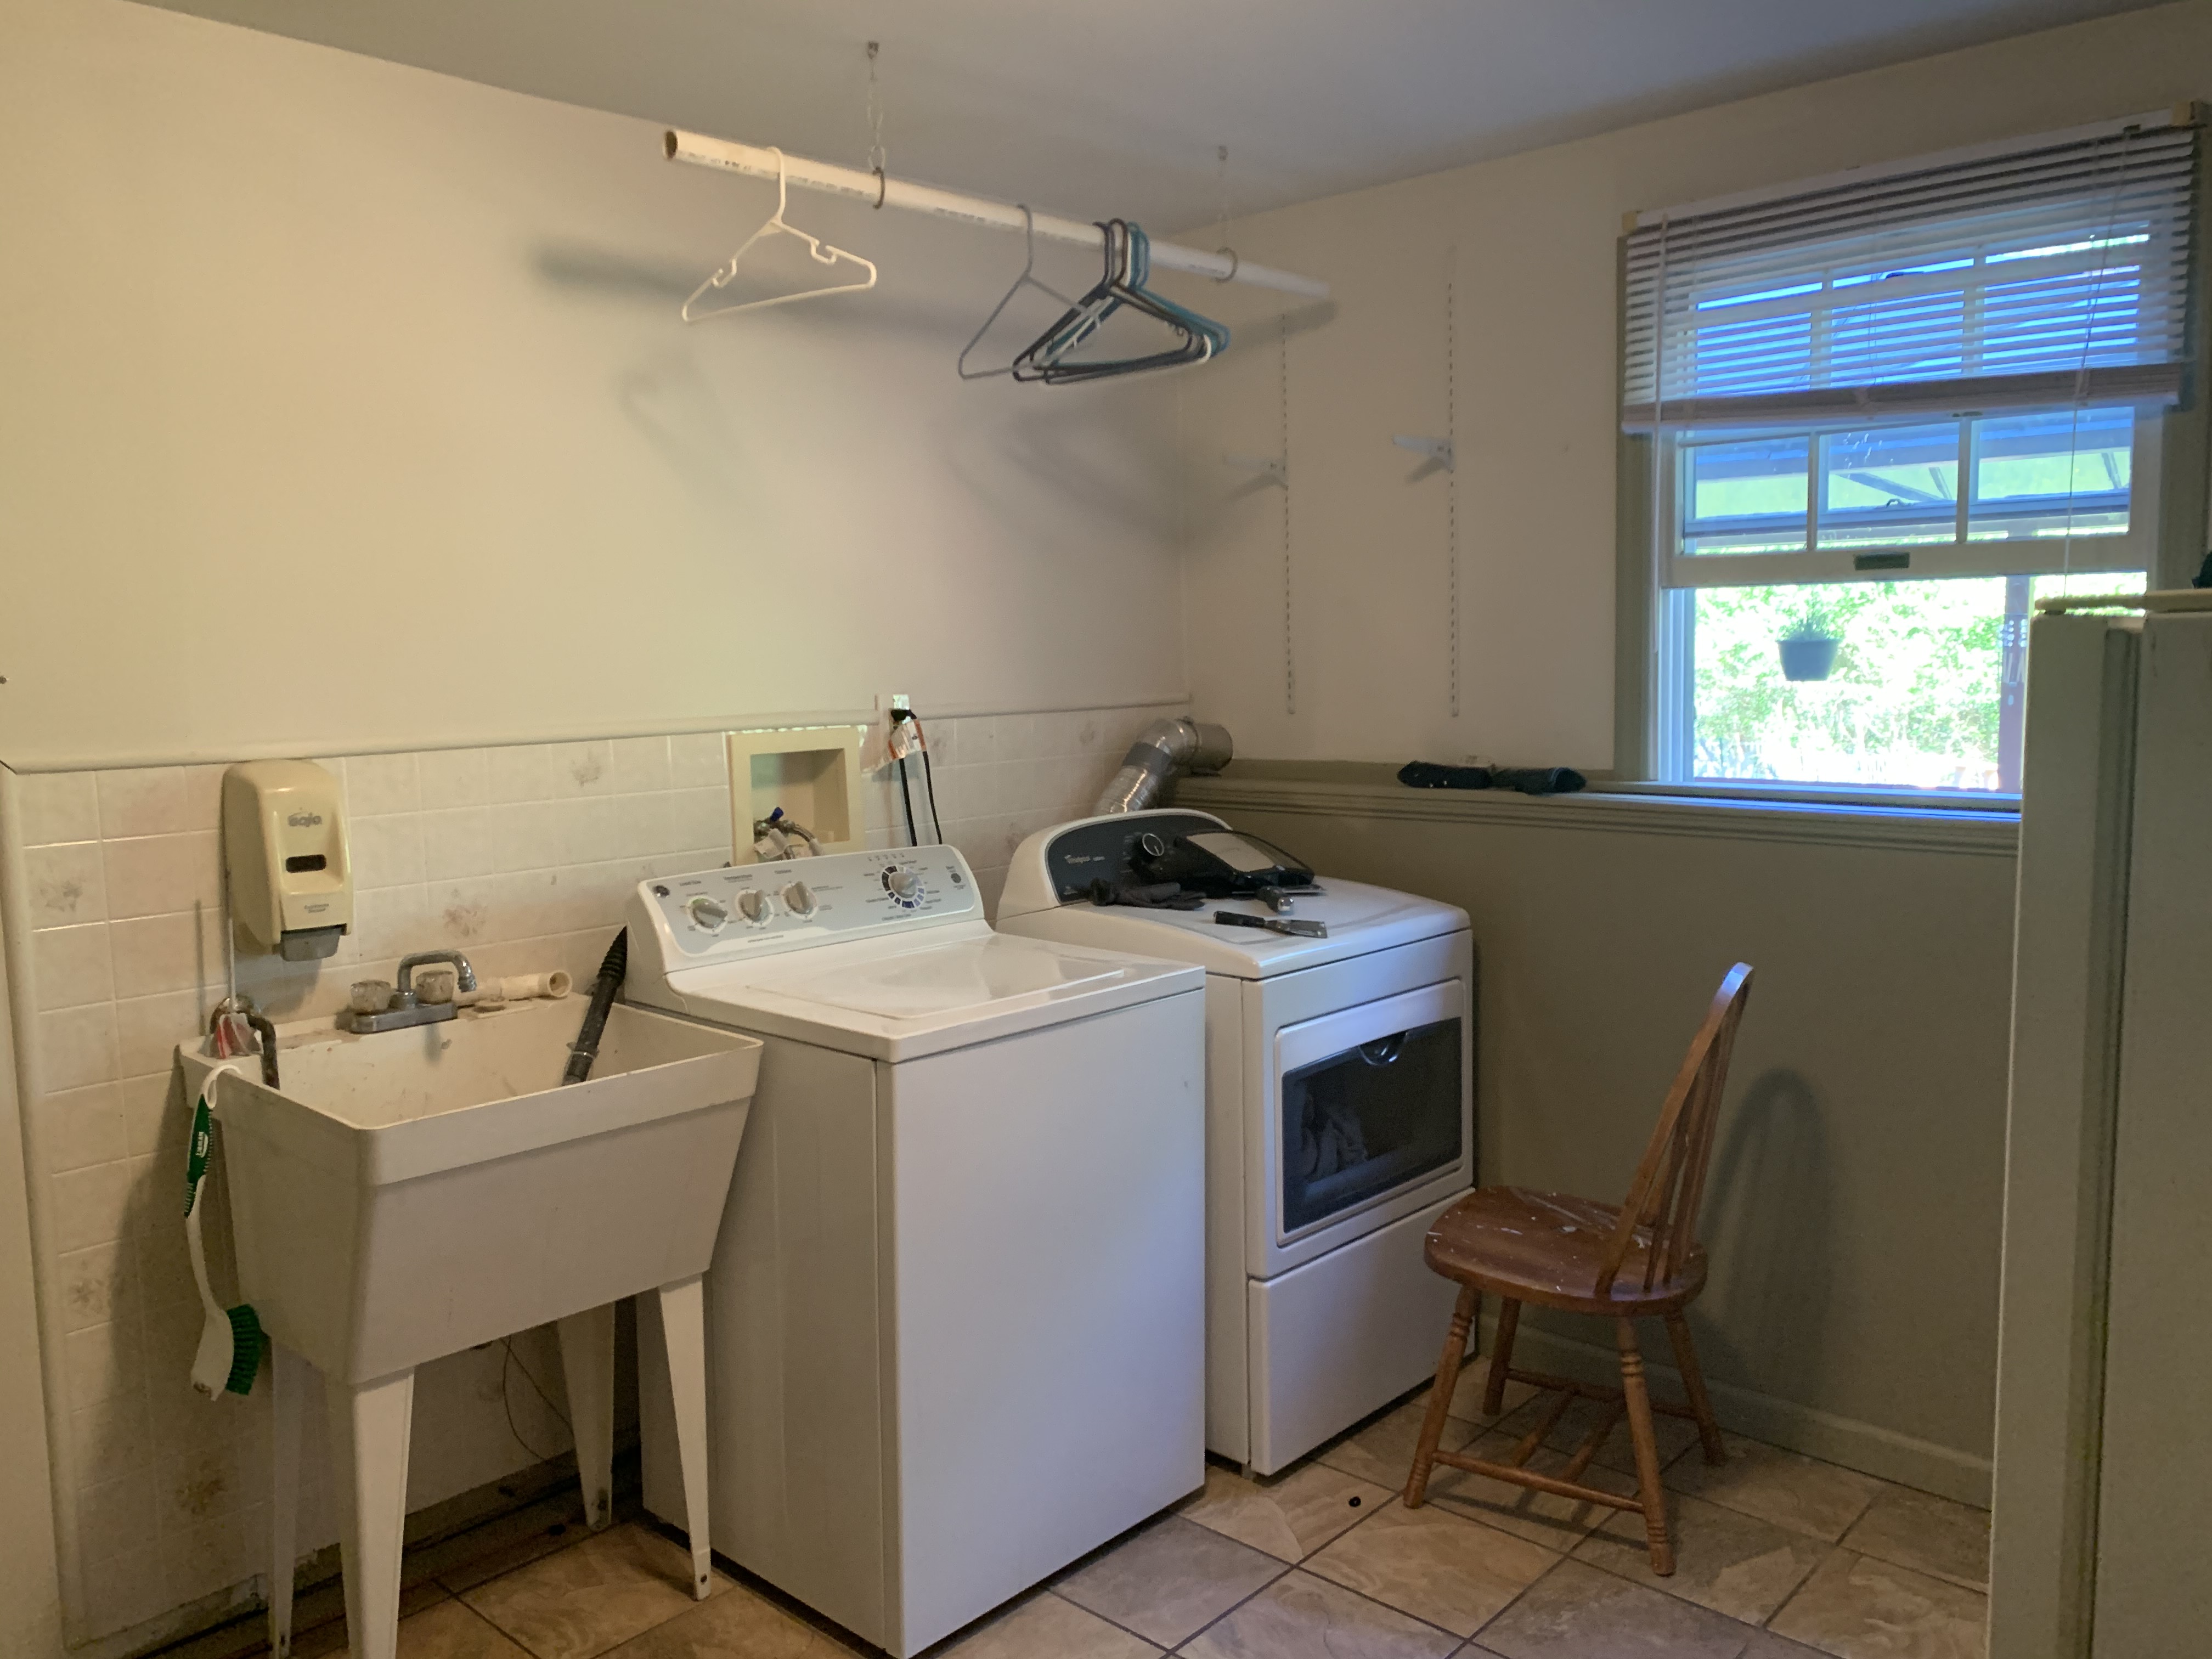
Here are a few before pictures of our mud room. One thing that we didn’t like about this area was how cluttered it looked with all of our shoes along the wall. Our main goal in this room was to add storage that would hide clutter (ie: shoes, cleaning and laundry supplies, etc.) We opted to remove all of the wire shelving and replace the ones on the back wall with a large storage cabinet. (We also removed the freezer and small cabinet on the back wall into the garage)
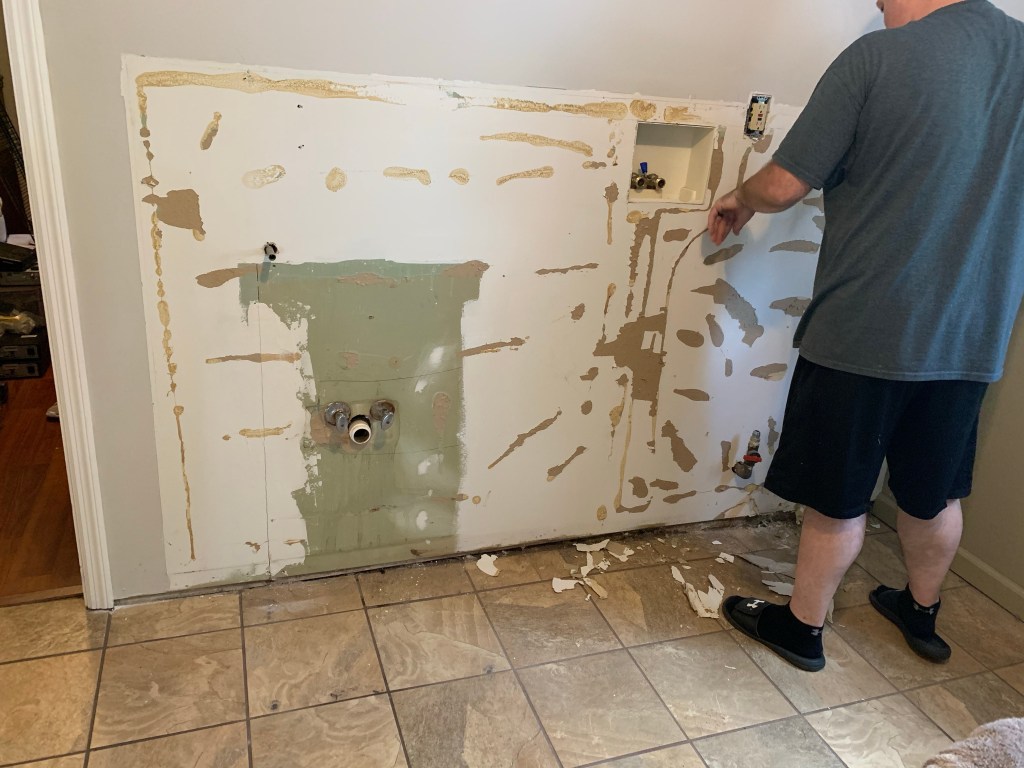
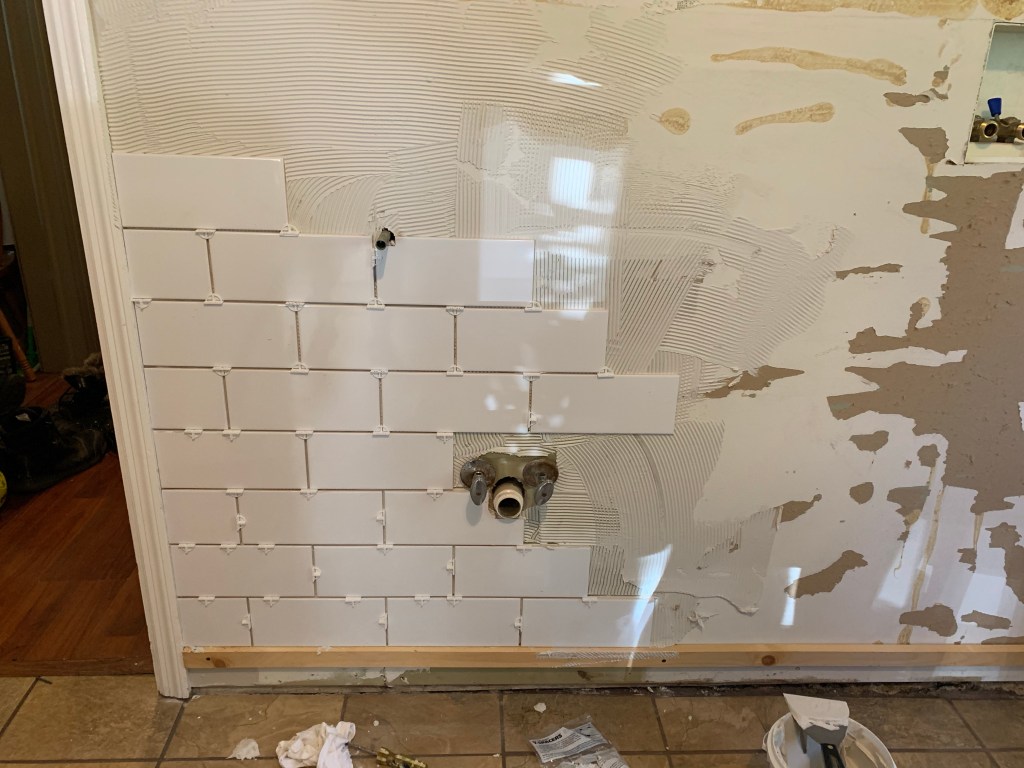
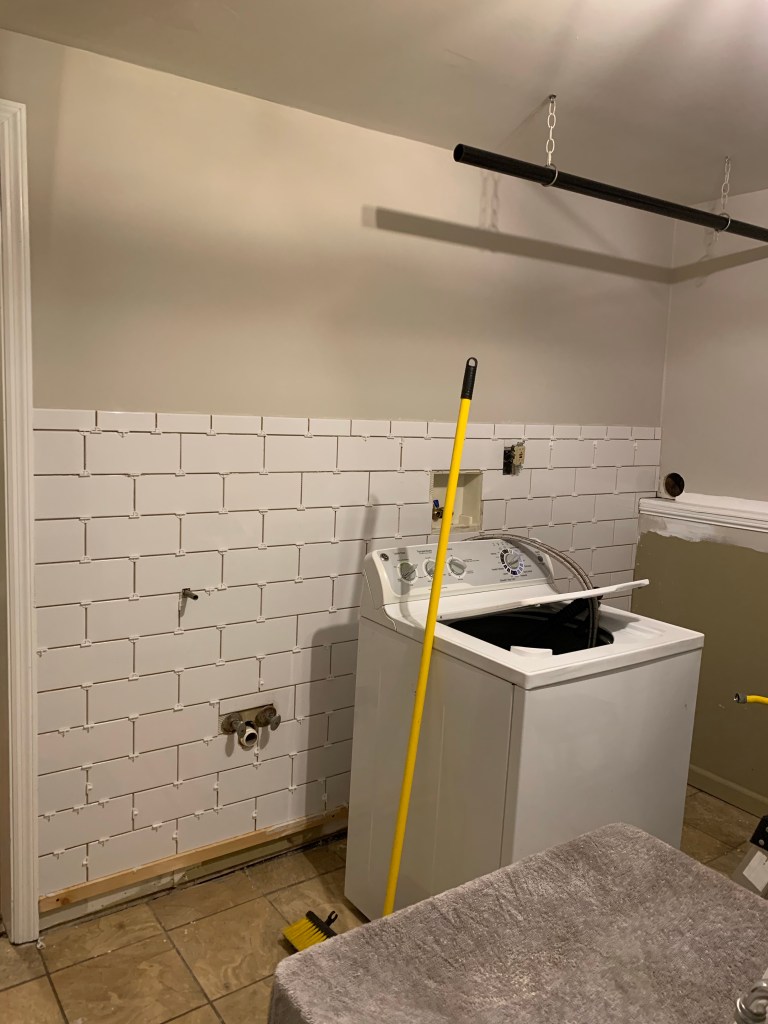
Once the shelves were removed, we spackled and painted the walls. To our surprise, the “tile” behind the washer and dryer was glued onto particle board and nailed into the wall. We had originally planned on just painting that tile and changing it out at a later date, but since the particle board was easy to remove we decided to take it down and put subway tile in it’s’ place. (We had a bunch of tile left over from the shower project in our previous home so all we needed to purchase was the grout… score!)
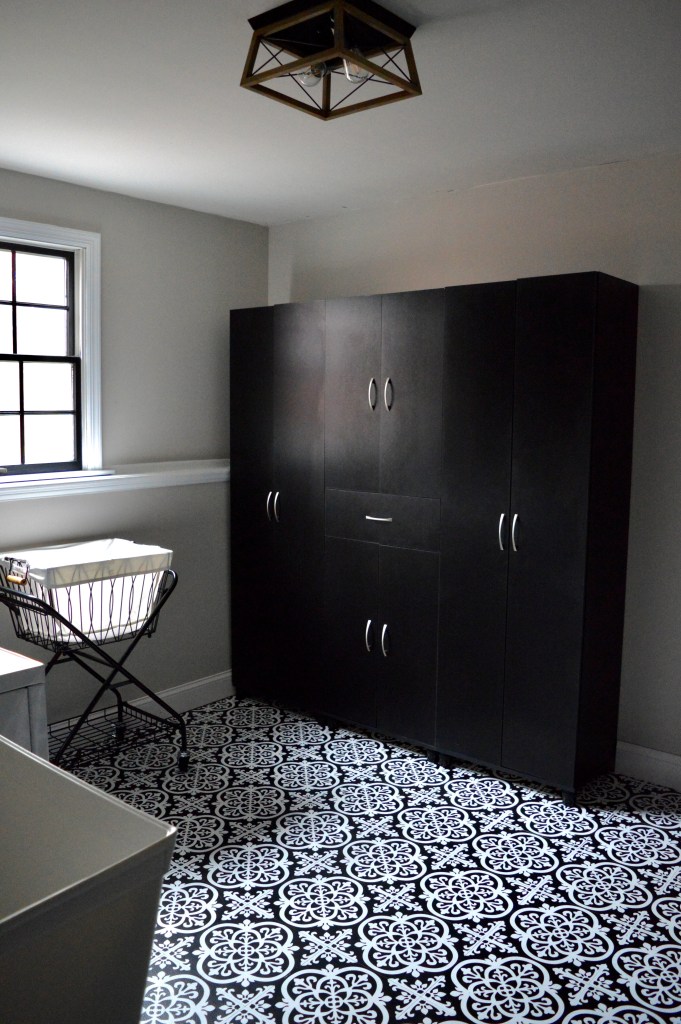
Once the walls and window were painted & the subway tile was put in, we installed Floor Pops over the tile floor. At first, my husband wasn’t completely sold on the idea. He was concerned that the tiles would lift and not hold up to the traffic in and out of this area, but luckily I was able to convince him. I ordered the tiles from Amazon (they shipped overnight!) and we got to work on installing the floor. I am SO happy I was able to persuade him because they made all the difference in this makeover. Even my husband who was skeptical at first has commented many times how much he likes the flooring. We’ve had the tiles in for several weeks now and so far we have not had any issues with it. They have held up well against the high traffic through this room, as well as to cleaning.
This storage cabinet from Wayfair nicely stores all our shoes, laundry supplies, paper towels, etc.
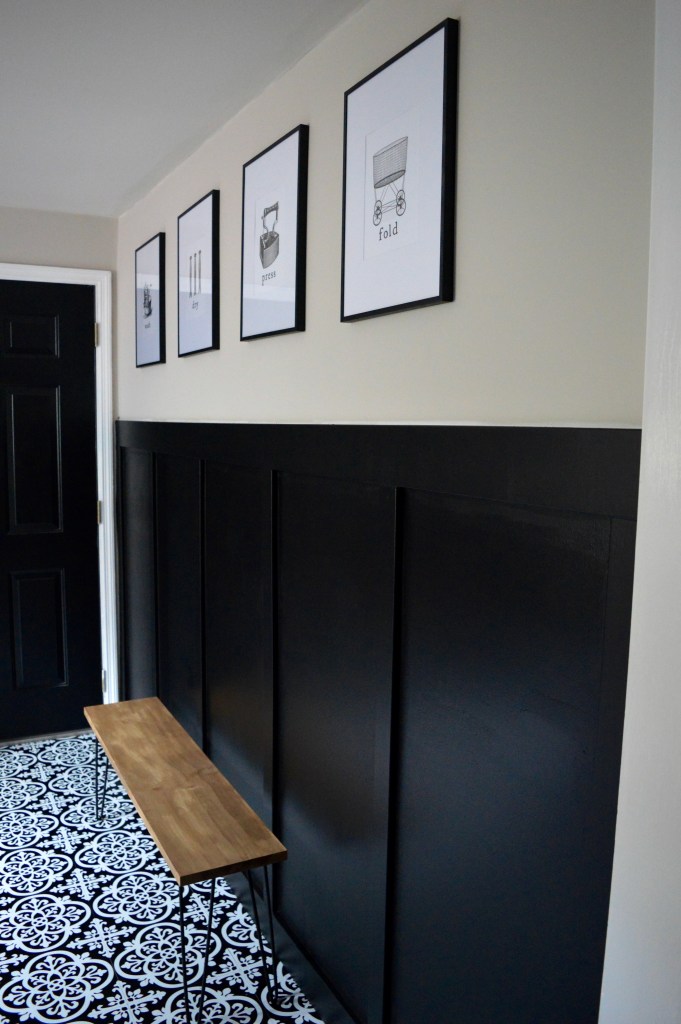
Next we replaced the slop sink. It was heavily stained and no amount of cleaning was able to budge the marks that were on there. I found our sink on the Home Depot website and ordered a black faucet from Wayfair. My husband then put up the board and batten wall. He followed a tutorial that we found on Pinterest and then I painted it black. We have never done such a dark color on a wall before and I absolutely L-O-V-E it.
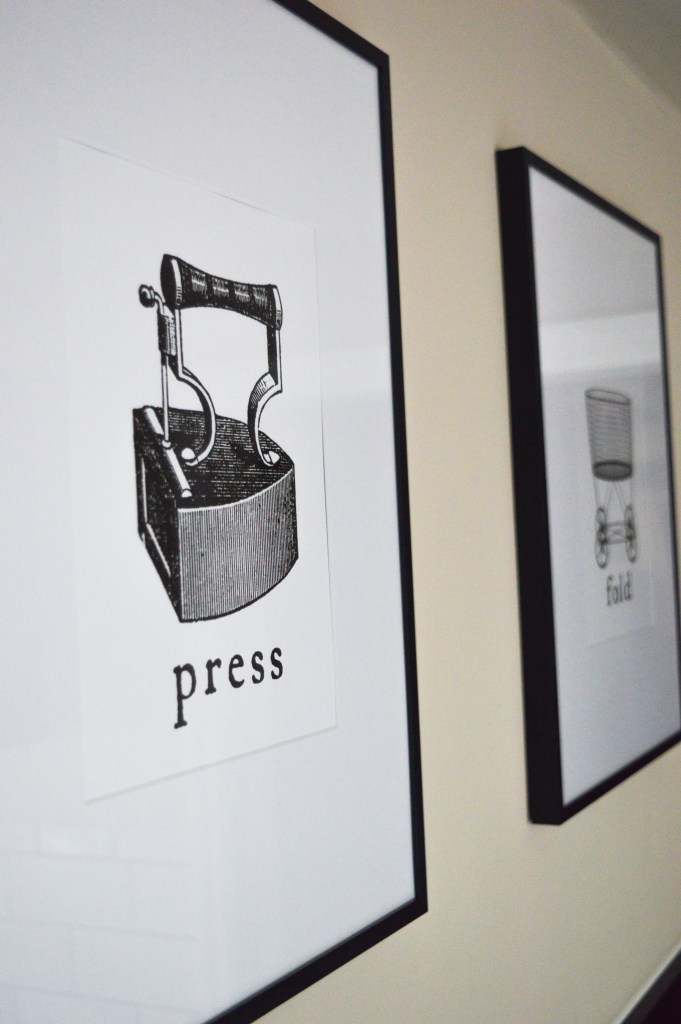
The final touch was adding prints I found on Etsy from the shop Letter and Lined. I knew I wanted some vintage pictures in this room and when I saw these pictures come up in my Etsy shop I knew I had to have them. They shipped in less than 2 weeks and look so pretty in these frames I purchased from Target. My husband also put together this bench for our daughter to sit on when she puts her shoes on.
I love the vintage style of these prints the Etsy shop Letter and Lined.
So there we have it, our first completed project in our home! I’m so happy with the way it turned out. Follow me on Instagram at thesenecahouse under my “Laundry Room” story highlight to see this makeover. 🙂
Hi! I’m Jaimie and welcome to my little corner of the internet. I am so excited to use this blog my ‘diary’ about our new house and all the ways we are going to turn it into our home. The next few blog posts will be about our laundry room, which is the first big project we’ve taken on since moving in this past August.
The backstory of our new beginning
We found out in November of 2019 that we were pregnant with twins. I can still see the look on the technicians face and hear her voice when she said that we were having two babies. A flood of emotions ran through me – happiness, shock, excitement, as well as a flood of happy tears. We were having 2 babies which meant our family of 3 would quickly be turning into a family of 5 in less than a year.
We went forward with creating a nursery for the twins, at that point I was six months pregnant and little did we know the babies would be making their debut into the world at 34 weeks + 4 days.
I remember sitting on the floor in nursery after my husband set up both cribs, turning to him and saying “we’re going to need a bigger house.” We both laughed and brushed it off at first, but later on that night we decided it was time to start house hunting sooner than later. Our old house was our first home together, and while it fit two dogs, us and a toddler well, the addition of two small babies made things feel overwhelmingly tight in our house.
My in laws had long been talking about moving out of state & had previously asked everyone in the family if anyone would be interested in purchasing their home. At the time, it wasn’t something that we wanted to commit to as we were still working on our first home and we only had one child at the time. My husband approached his parents and asked if they were still interested in selling their home, and if so, would they be willing to sell it to us. We were lucky enough for them to say yes and now here we are… three children, two dogs and ready to tackle a ton of renovations to turn my husbands’ childhood home into our family home.
Taking on our first project
Our current house is a split level design which gives guests two areas to come in through our home, the front door or the garage. We usually enter the house through the garage and into our mud room which also serves as our laundry area. We decided to make this room our first project since this is the first room someone enters after coming through the garage.
I started scouring Pinterest for some inspiration for the design of this space. We knew we wanted this room to be pretty as well as functional, so we came up with a list of things that we’d like to change while trying to follow a decent budget:
Paint the walls, trim, door, and window
Change the flooring
Change out the slop sink
Remove all shelving
Remove particle board behind the washer and dryer
Add storage
Add board and batten to one of the walls
While we would love to replace the washer and dryer, it is just not in our budget right now. Hopefully down the road we will be able to purchase a front loading washer and dryer & add a tabletop to them for folding laundry.
With all this in mind and inspiration from Pinterest, I put together this mood board to help our design come to life.
The laundry room is 99.9% complete and I cannot wait to share the final pictures with you!